How to Recover a Stuck Vehicle

What recovery gear do you need for overlanding? How do you use a basic recovery kit to get your rig out of snow, mud, or sand? Let’s learn more.
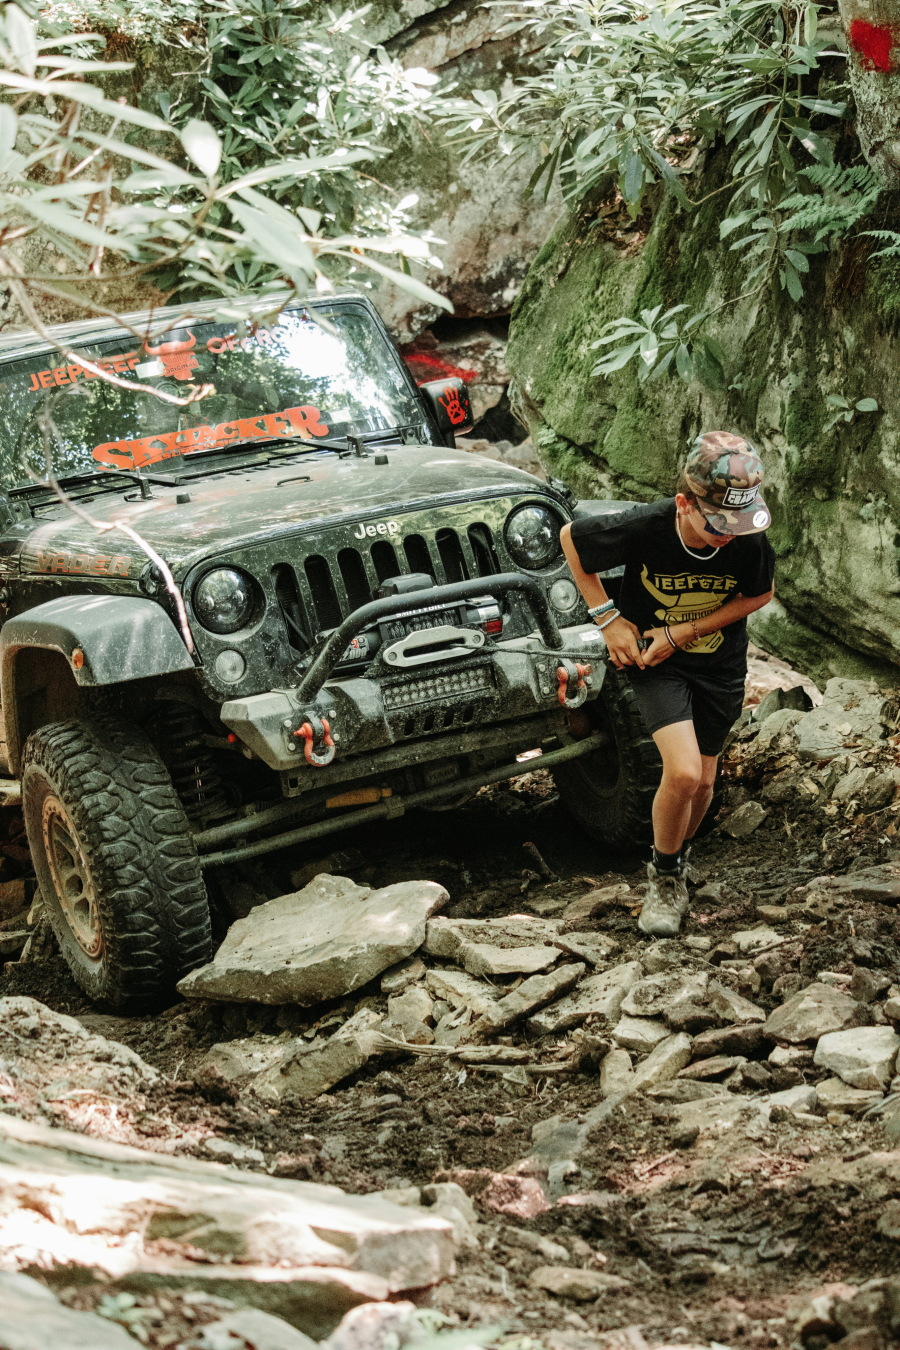
At some point in our overlanding careers, we’re going to get stuck. The same is true for any adventure sport. If you rock climb long enough, eventually you’ll take a big fall. If you ride motorcycles for long enough, eventually you will crash. If you skydive for long enough, eventually your main chute will fail. That’s why people use ropes when climbing, wear protective gear when motorcycling, and pack reserve chutes when skydiving.
By the same principle, it pays to have a recovery kit in your vehicle whenever you’re overlanding. I learned this lesson the hard way. A few years ago, a buddy and I spent six hours stranded in the remote Nevada mountains after we plunged a rented 2WD Nissan truck into a sandtrap. We tried all manner of tricks, but ultimately had to hike up to a nearby summit to get service and call an offroad tow truck.
It ended up being fine, but if we hadn’t found a sliver of cell signal on that peak, we’d have had to walk 25 miles to the nearest highway.
What’s in a Basic Recovery Kit?
The good news is you don’t have to shell out hundreds of bucks for a recovery kit, and you don’t need a full-blown winch. This gear is simple, cheap, and reliable. Whether you’re driving a 2WD, AWD, or 4WD vehicle, a basic recovery kit looks about the same. The components are:
- Traction boards: Also called “traction mats” or Maxtrax (one of the orginal brands) these provide grip under your tires to help you get out of loose terrain. (In an emergency, vehicle floor mats can also work as traction boards.)
- Shovel: A shovel is essential for digging out your tires, whether you’re stuck in mud, sand, or snow.
- Kinetic Recovery Rope: A kinetic strap (snatch strap) or rope can help smaller vehicles tow a much heavier vehicle. Make sure to check the working load limit and purchase a rope with one greater than the weight of your vehicle. You should purchase one that is 2-3 times the gross weight of the lightest vehicle in the recovery. For most 4x4 vehicles, this is a strap rated around 8,000 kg (17,500 lbs). A strap rated for more than this will not stretch properly and will create more stress on the vehicles.
- Recovery Shackles (metal or soft): Shackles are used to connect the recovery rope to the vehicles. They are either metal shackles or soft synthetic soft shackles.
- Recovery Damper: A recovery damper is designed to be placed over the snatch strap or winch line to reduce the rebound of the recovery line in the event of a failure.
- Heavy-duty work gloves: A good pair of work gloves will protect your hands from cuts, scrapes, and rope burns.
- Tire deflator or basic pressure gauge: A tire pressure gauge (or dedicated deflator) can help you slightly deflate tires to enlarge the contact patch, boosting traction. An air compressor is also nice, so you can inflate them again once you’re back on the pavement.
Other useful items include a tire patch kit to fix small punctures, jumper cables if your vehicle’s battery dies, and a GPS messenger (I like the Garmin inReach Mini). A first-aid kit is also always a good idea in case of any injuries.
How to Use Your Recovery Gear to Recover a Stuck Vehicle
Okay, you have your recovery kit. Now we have to put it to work. There are two basic options here. Let’s break ‘em down.
Get Yourself Out with Traction Boards
If you’re really stuck, it’s easiest to use a second vehicle to tow yourself out. But if you’re alone, like my buddy and I were, that’s not an option. So you have to use traction boards to get yourself moving again.
Before you begin, make sure it's safe to get out of your vehicle. If your vehicle is on unstable terrain, you don’t want it rolling or sliding back on you.
1. ASSESS
Once you’ve made sure it’s safe, assess the situation. See how deep you're stuck and note major obstacles around the wheels, such as tree trunks and rocks. (If you left your traction boards at home, flat rocks tightly packed together in a sort of “cobblestone” path can provide a bit of traction, but if you’re using traction boards, you want these rocks, tree trunks, and other debris out of the way.)

NOTE: Before going all in, try deflating your tires slightly and see if this allows them to get more contact and traction.
2. DIG
Now you’ll need to dig out the area. Use your shovel to dig a shallow trench under where the wheels will ride onto the traction boards. This creates a more solid base and helps the tires grip the boards better. Traction boards work best on flat surfaces. If you're on a slope, try to angle your trench so that the wheels are as level as possible when they come onto the boards.

3. POSITION
Place the traction boards firmly in front of your driving wheels (if you have a 2WD vehicle, make sure you know whether the front or rear wheels are the driving wheels). The bumpy or cleated side should face upwards. Ideally, you want the boards to be as flat as possible against the ground, so adjust the trench depth as needed. Some traction boards come with straps or wedges to secure them in place. If available, use them to prevent the boards from moving when you drive onto them.

4. DRIVE
Once your boards are ready, drive slowly onto them. If you have low gear, engage it for better control.
You want to move slowly and steadily, but you also want to maintain constant momentum. If you get stuck on the boards, don't spin your wheels. This can quickly damage the nubs on the boards, ruining them. Back up slowly off the boards, reposition them if needed, and try again with a little more speed. Even if you can only get one set of wheels onto the traction boards, that may still be enough to gain some traction and get yourself unstuck.
Use Another Vehicle to Tow Yourself Out
If you have a buddy with another vehicle or are able to flag down a passing car, then you may not have to worry about traction mats at all. Let’s go through the process of towing yourself out using a second vehicle.
1. IDENTIFY VEHICLE RECOVERY POINTS
Before you get started, make sure you know the towing spots or “recovery points” on both vehicles. Owner’s manuals should list these. They are dedicated points, not basic tie-down points or hitch balls. Recovery points are often found behind the rear bumper. Others are hidden under a small cover behind a front bumper.
Don’t just eyeball it. Serious damage to your vehicle (or injury) can result from using a tie-down point to try and tow a car.

2. ATTACH RECOVERY SHACKLES & STRAPS
There are two types of shackles you can use to tow your vehicle: soft or metal. Soft shackles are lighter, but wear out faster. Metal shackles are more durable but heavier. How you attach them will depend slightly on the shackles you have.
You shouldn’t just use any rope or strap to tow yourself out, either. Use a kinetic or “snatch” strap. These ropes are semi-elastic, transferring energy through the strap from the vehicle. This distributes force throughout the system and allows recovery vehicles to exert outsized towing power.
Attach your kinetic recovery strap or rope to the shackles on each vehicle’s recovery point, making sure there’s a bit of slack in the system.

SAFETY
Never step over the strap once it is connected to the two vehicles. Once connected, the strap is considered "live" and could cause serious harm if things go wrong. It's a good rule of thumb to ensure everyone is at least 1.5 to 2 times the length of the snatch strap away from the vehicles, preferably to the sides, not the front or back. This way, if the strap breaks, you will be out of harm's way. Additionally, it's important to have communication devices, like radios, in both vehicles so the drivers can easily communicate.
3. DRIVE
Finally, have the recovering vehicle drive forward, pulling the stuck vehicle free. Like driving yourself out with traction boards, it’s best to accelerate slowly and steadily, maintaining momentum and adding force only as needed.
Hopefully, you’re free. If not, that’s when the GPS messenger that we talked about above comes out to play…
Conclusion
When overlanding, a basic vehicle recovery kit is your safety net. Traction boards, a shovel, kinetic recovery rope, shackles, gloves, and a tire deflator can make the difference between a frustrating situation and a full-blown emergency.
But remember, these tools are only effective when used correctly. Practice using your kit at home, familiarize yourself with its components, and consult your vehicle’s manual for proper recovery points. One of the best ways to avoid the need for recovery is to practice off-road driving techniques, check out our blog for a refresher.
About the Author